Time to read: 4 min
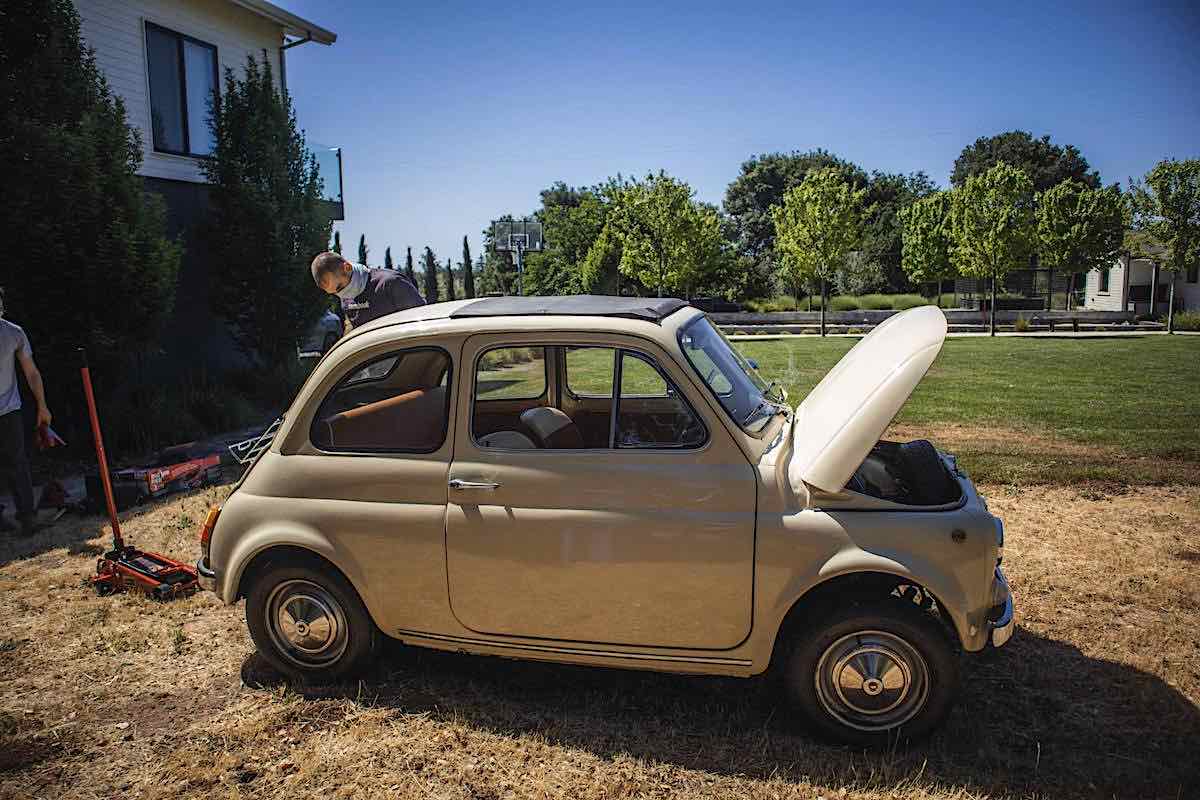
Welcome to our 4-part EV car conversion series! We started this project last year to learn about cars and foster community while we are all working remotely. In this article, we’ll give you an overview of our approach and the decisions our engineers made when turning our 1966 Fiat 500, Butterball, into an electric vehicle. You can read the rest of the series detailing the mechanical, electrical, and prototyping phases of the build, too.

Learning the Car’s Existing Systems
Our first big task was to remove the engine — an important step, because as an electric vehicle, Butterball wouldn’t be needing its combustion engine any longer. Pulling the power plant also helped us better understand the internal operations of the car, and figure out where to mount and connect the electric drive components.

As an older car, the Fiat’s drivetrain and systems are relatively simple and straightforward. There are no computers to program and plenty of space because there’s little else than the drivetrain, seats, radio, and analog gauges inside.
The electrical system is also relatively uncomplicated. However, because this car hasn’t been being mass-produced in decades, finding replacement parts was a challenge. Even documentation to figure out what was going on inside the car was hard to come by. We were lucky to have the full manual that came with the car, but outside of that, we had to resort to other hobbyists (or this episode of Vintage Voltage) to learn how the car’s systems work.
Initial Challenges
One of the biggest initial challenges we faced was how to connect the motor shaft to the transaxle shaft. This is not a trivial problem; if the motor is running but can’t turn the wheels, Butterball won’t be much of a car, will it?
Our first idea was to create a coupler to connect the motor shaft directly to the transaxle shaft and eliminate the clutch. This configuration would lock the transmission into gear while the car was moving, and could only be changed when stopped — so, you would be stuck in either 3rd gear (best for city driving), 4th gear (for highway driving), or reverse.

However, after doing some fit checks and research, we discovered that the clutch was compatible with our electric motor. All we had to do was design and manufacture a custom coupler, which ended up being simpler than eliminating the clutch.
Our other big challenge was fitting and mounting all of the new components into the car. Fiat 500s are tiny, and don’t have much room inside the cabin — these cars can barely fit anyone who’s over 5 and a half feet tall.
Additionally, the engine bay contains a lot of sheet metal that isn’t structural and isn’t strong enough to mount the ~120 lb battery box. That meant we had to attach everything to the frame rails, which brought us back to the challenge of finding room for all of the components since our space was even more limited.
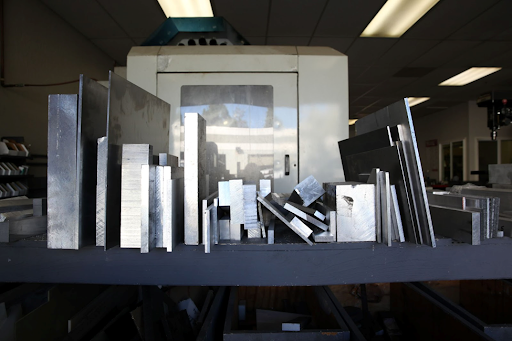
So, our final solution was to attach a large aluminum plate to the frame rails. This plate was machined to provide a space to mount the motor hung below, and hold the battery box and other components on top.
Fitting the Motor
Now we actually had to fit the motor inside the car. At first, we thought the motor would stick out too far and interfere with the bumper. One solution was to remove the transaxle, but this would also mean removing and replacing the differential in order to transfer the power ninety degrees to the wheels. (The differential is what allows the wheels to turn at different speeds on turns.) Removing the differential and transaxle were way beyond the scope for this project, however, so we left it all in.

Instead, we hollowed out a section of the motor shaft so that it could slip over the unsplined section of the transaxle shaft. This approach worked with our custom coupler to connect everything together, transmit power from the motor, and officially and fully electrify Butterball’s drivetrain!
Of course, there was plenty of other work involved with turning our little Fiat into an EV. In our other articles, you can learn about the work that the mechanical and electrical teams did, in addition to tips on prototyping and building vs. buying parts.
A car conversion is a big project, but with the right team, talents, and resources you can make it happen. Want to learn more about how China Manufacturing parts, Inc. can help with your project? Whether big or small, we have 3D printing, CNC machining, and injection molding services that will help you unlock your innovation and electrify your classic car, too. Create an account and upload your designs today!

