This week, we’re tearing down the Logitech G13 Advanced Gameboard. It’s a fully programmable one-handed keyboard. Fictiv’s very own software engineer and MMO game enthusiast Craig Crossley recommends this model, citing its durability (three years and going strong) and ease of use.
The G13 Gameboard retails at $79.99.
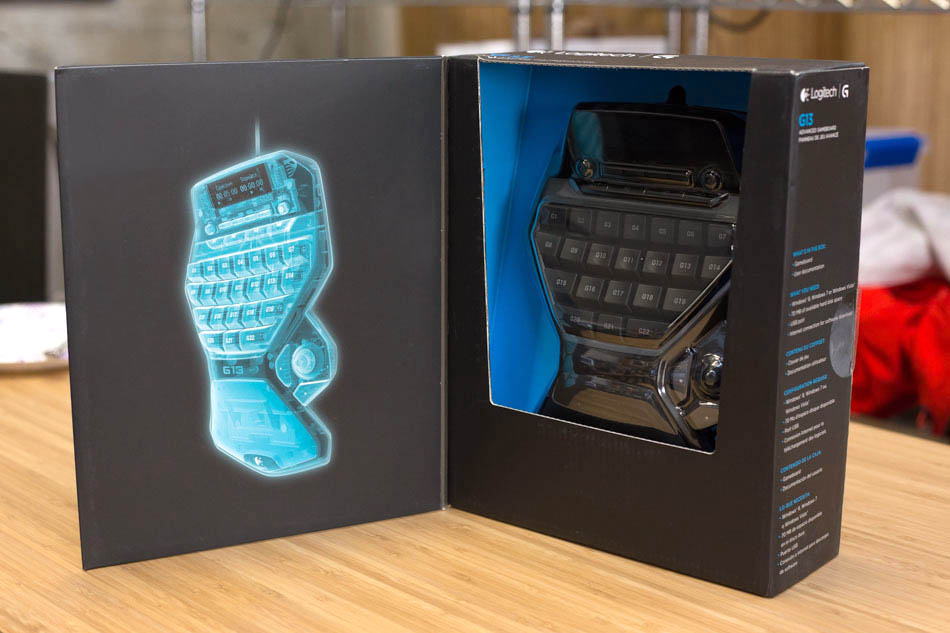
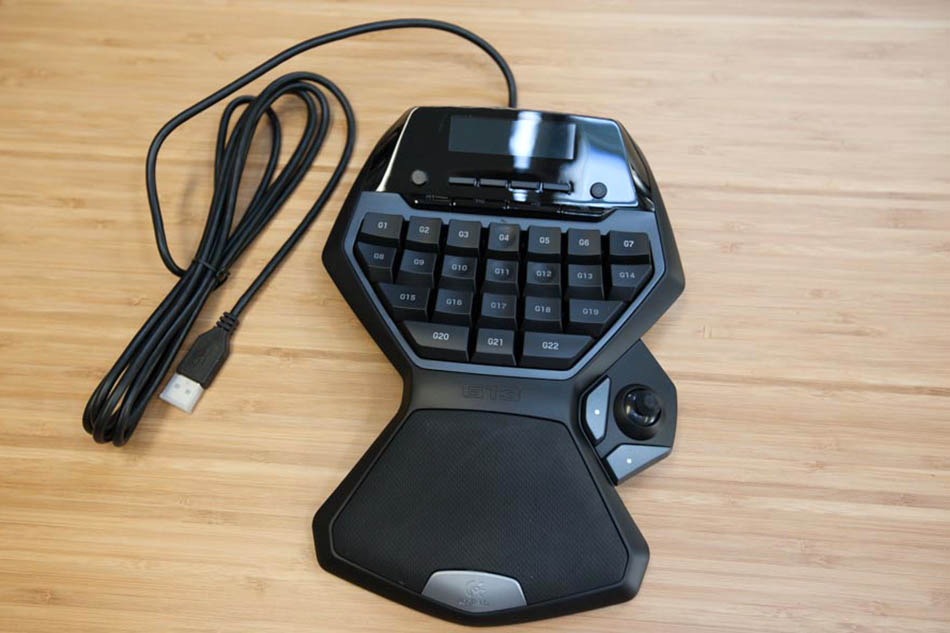
We don’t see any screws on the front of the gameboard, and we still don’t see any after we flip the gameboard onto its back. If you read our Logitech mouse teardown, you already know how we’ll get in…
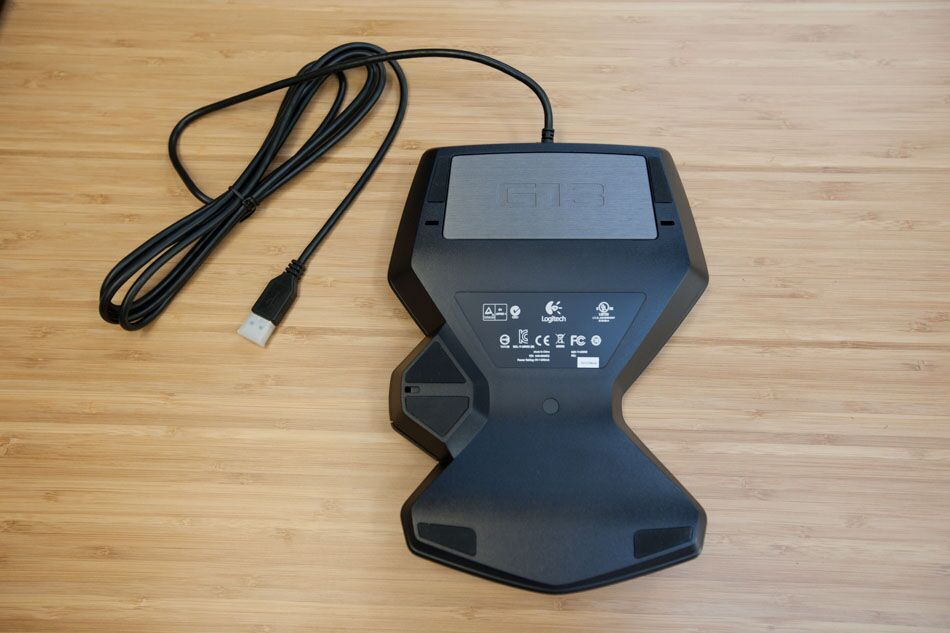
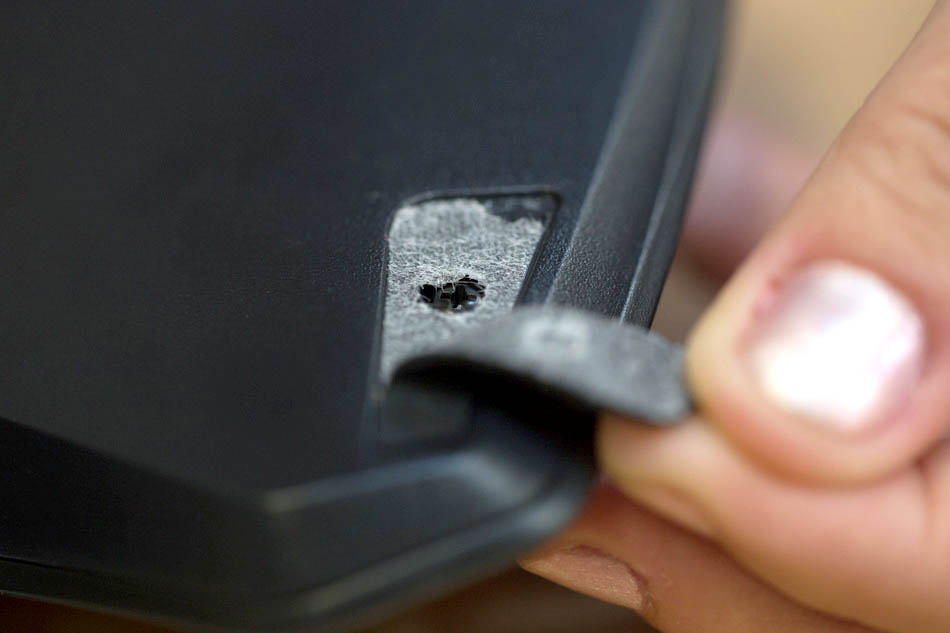
Yup, the screws are underneath the “feet” of the gameboard! The feet on the gameboard are made of a high-friction elastomeric material, as opposed to the PTFE “easy-glide” feet on the Logitech mouse.
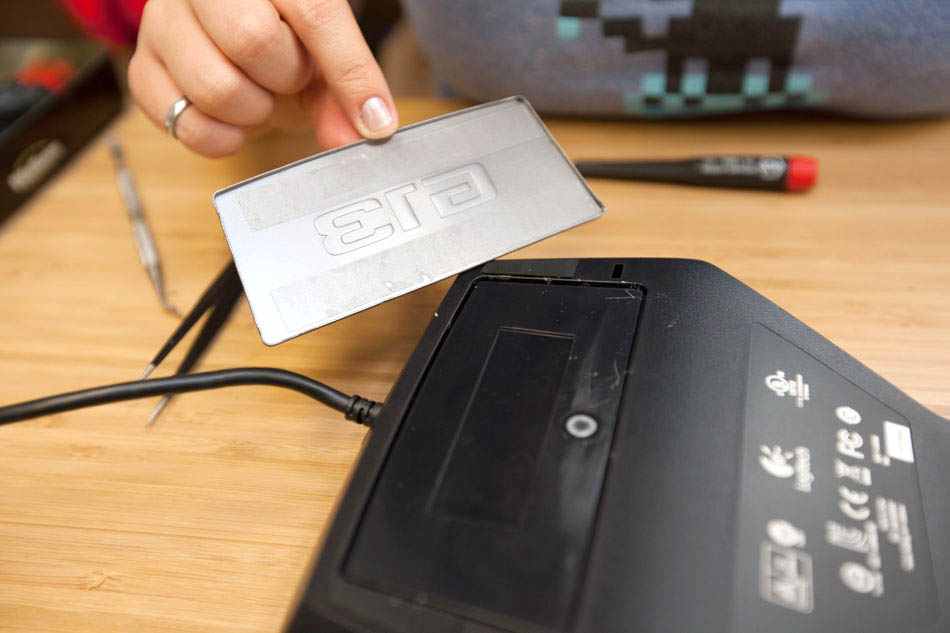
We peeled off the “G13”-branded stamped aluminum plate, thinking there would be more screws underneath. This purely decorative piece is attached to the plastic lower shell by double-sided tape, or PSA (pressure-sensitive adhesive) in industry speak.
The two halves of the gameboard came apart cleanly. There’s a lot of empty space inside, especially in the palm rest.
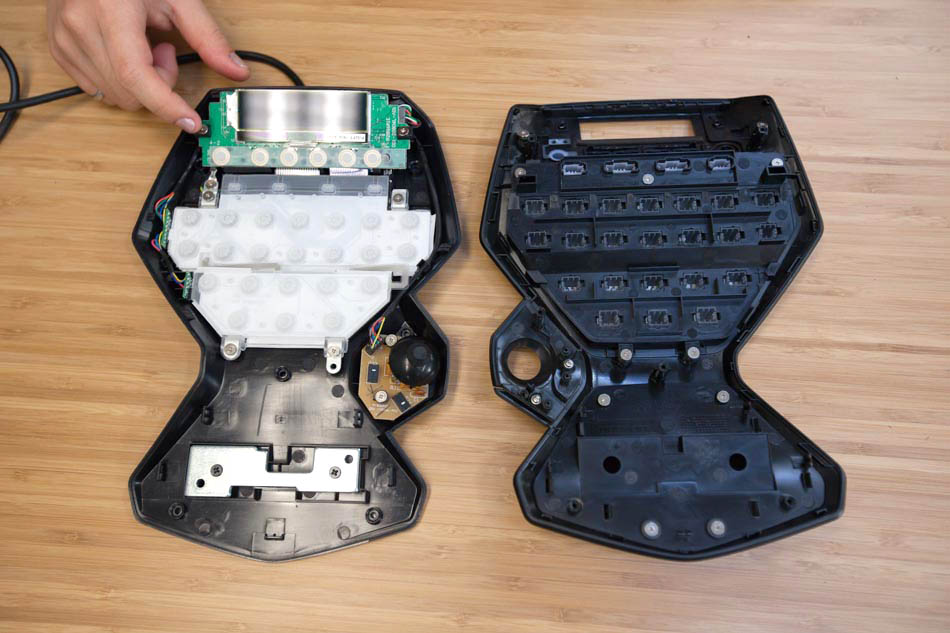
The top half of the enclosure is actually made up of five separate pieces.
Here’s the screen cover:
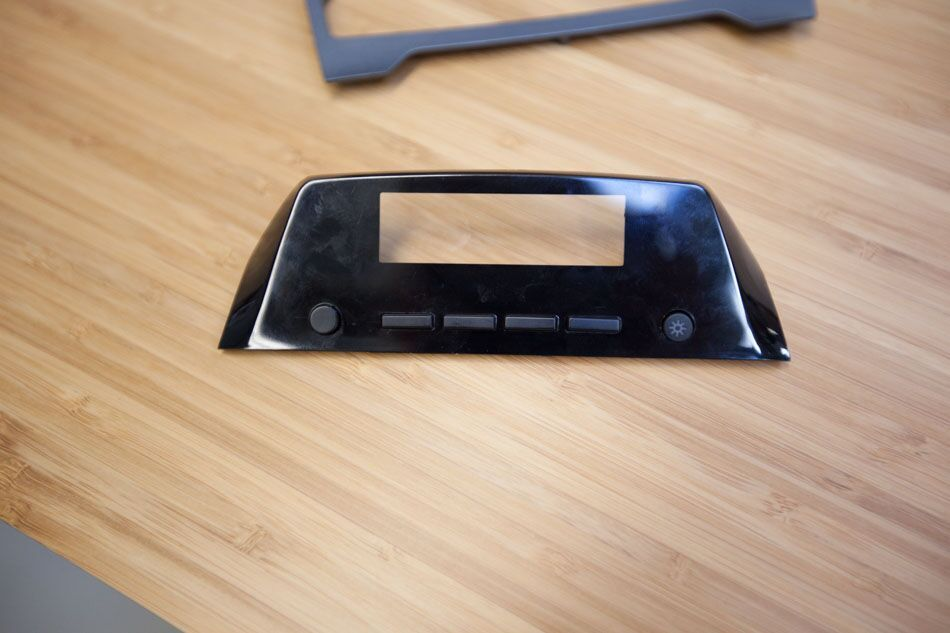
Button frame:
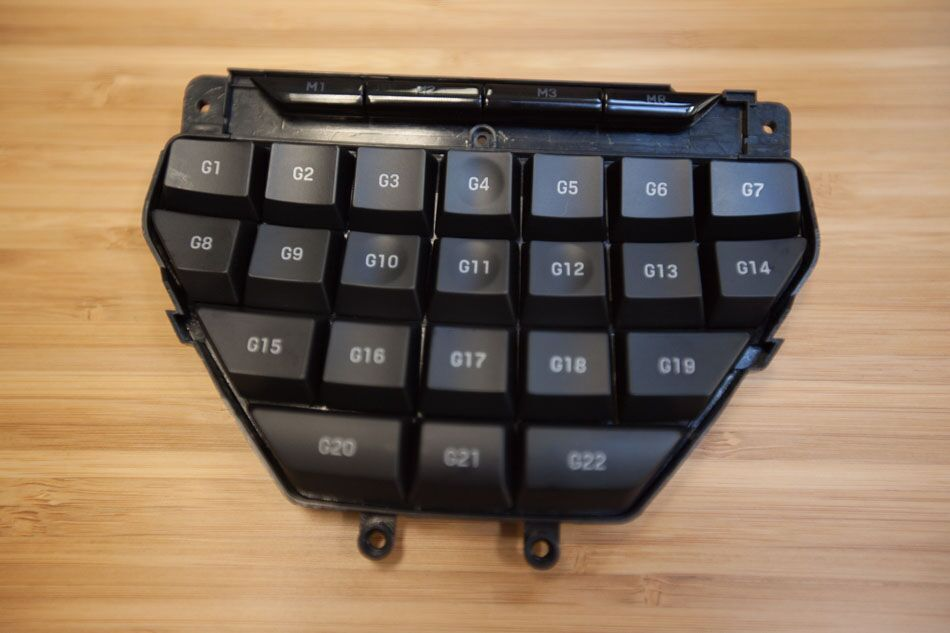
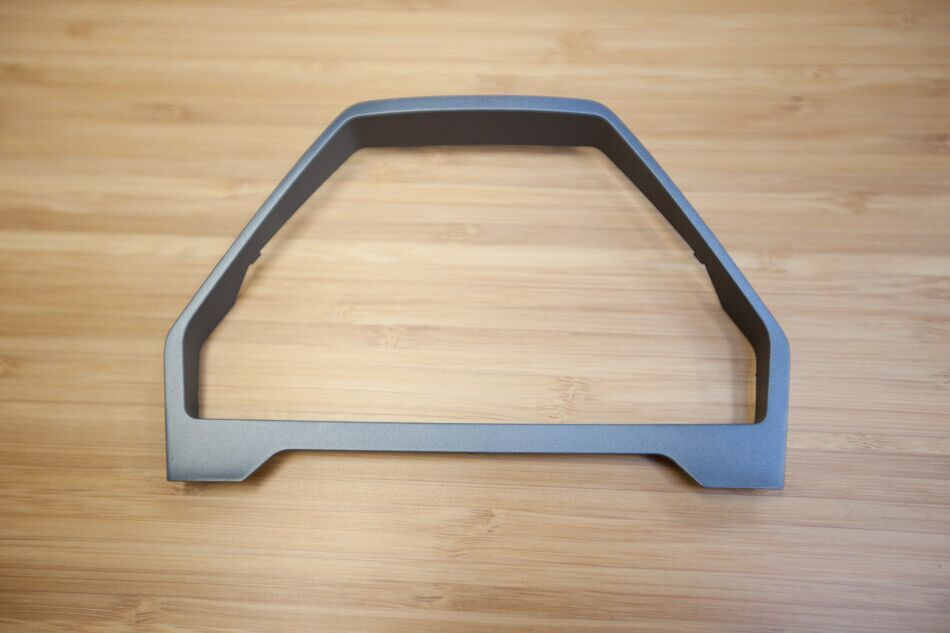
Bezel around the button frame:
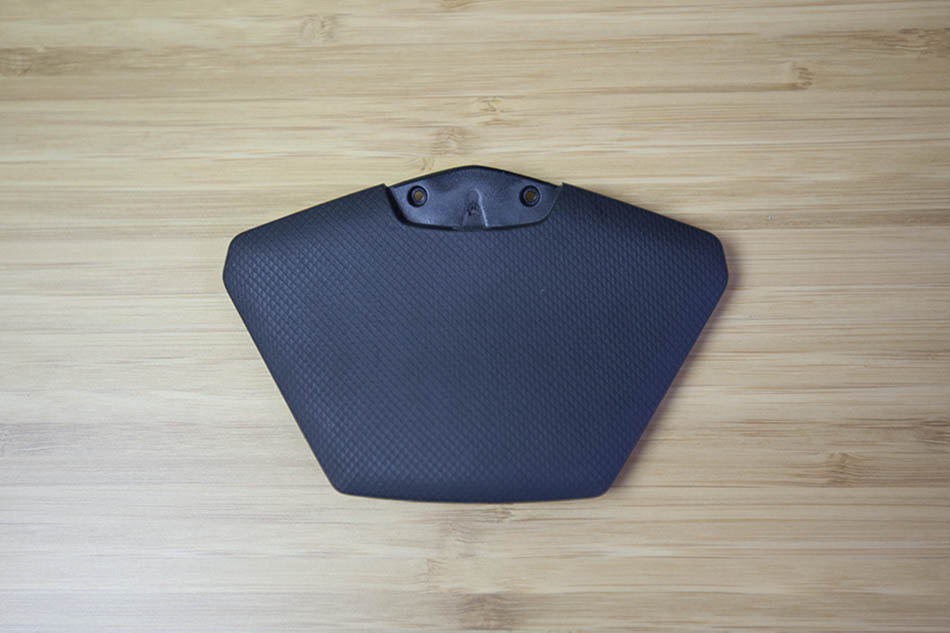
Palm rest:
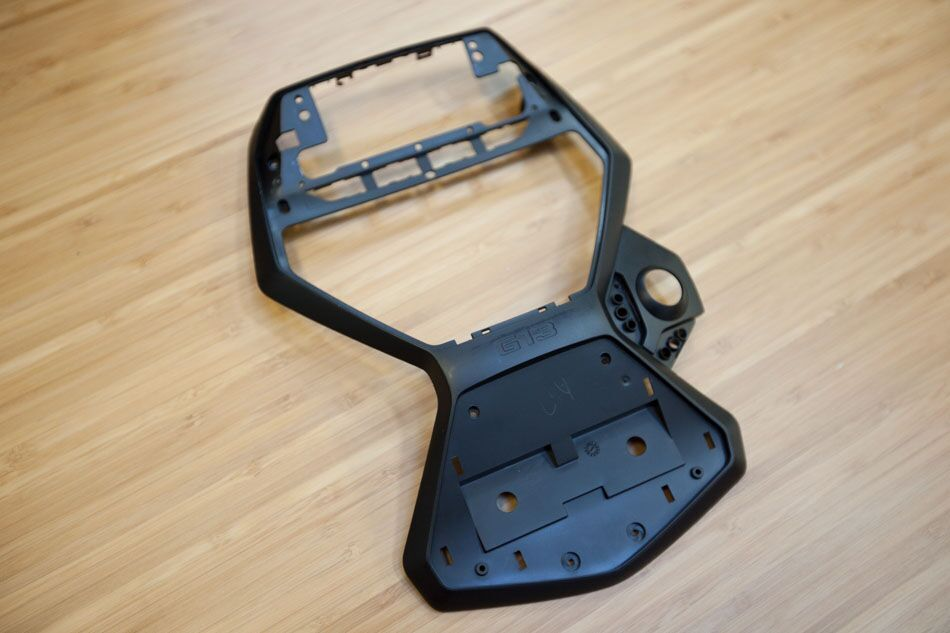
And here’s the main frame after all the other pieces have been stripped out. It’s so bald!
Since this product is essentially a small, specialized keyboard, let’s talk about keys!
G-Keys
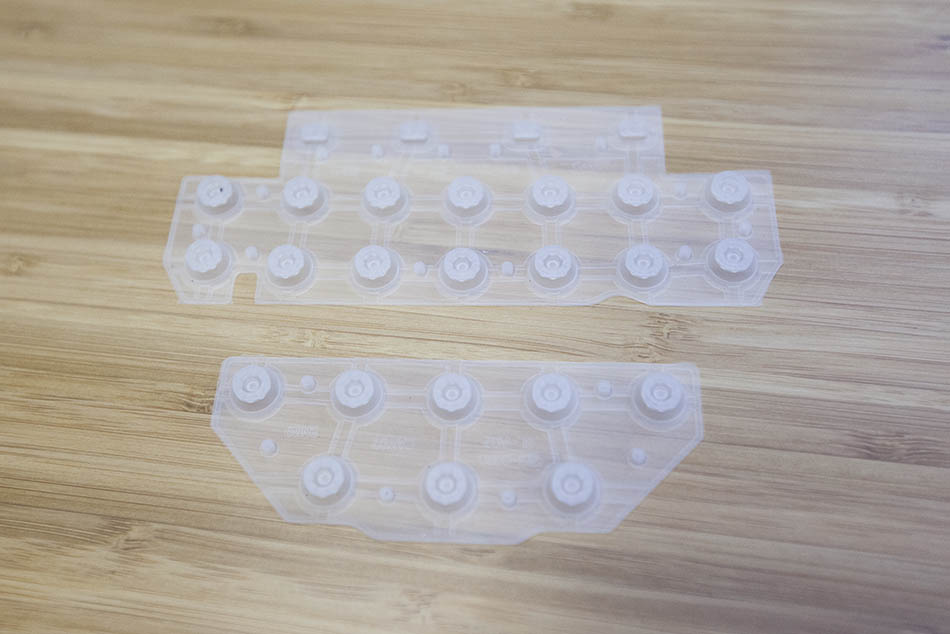
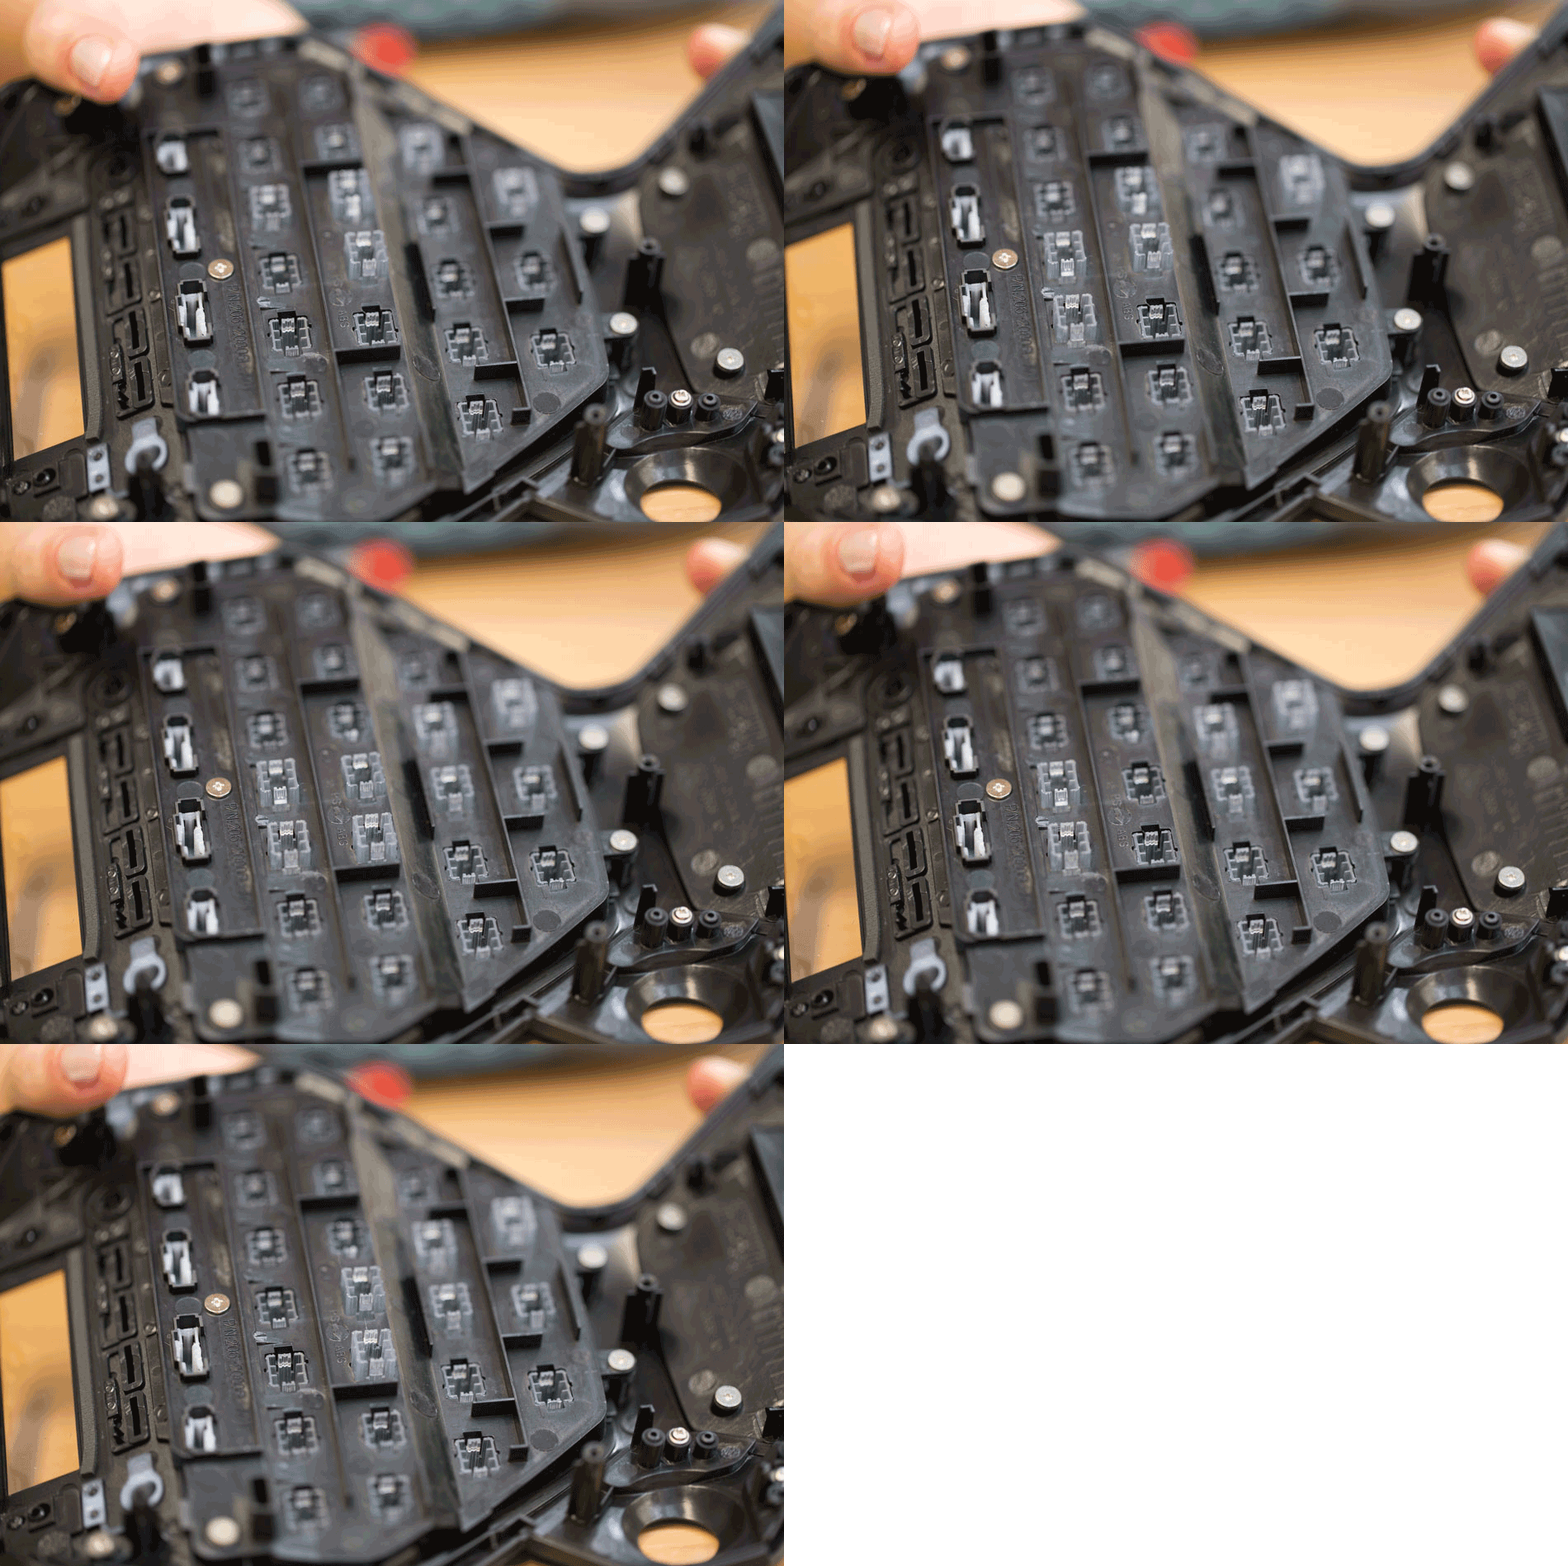
Under the 25 programmable “G-keys”, an elastomer “key mat” is sandwiched between the plastic buttons (also known as key tops) and the FPC (flexible printed circuit) underneath.
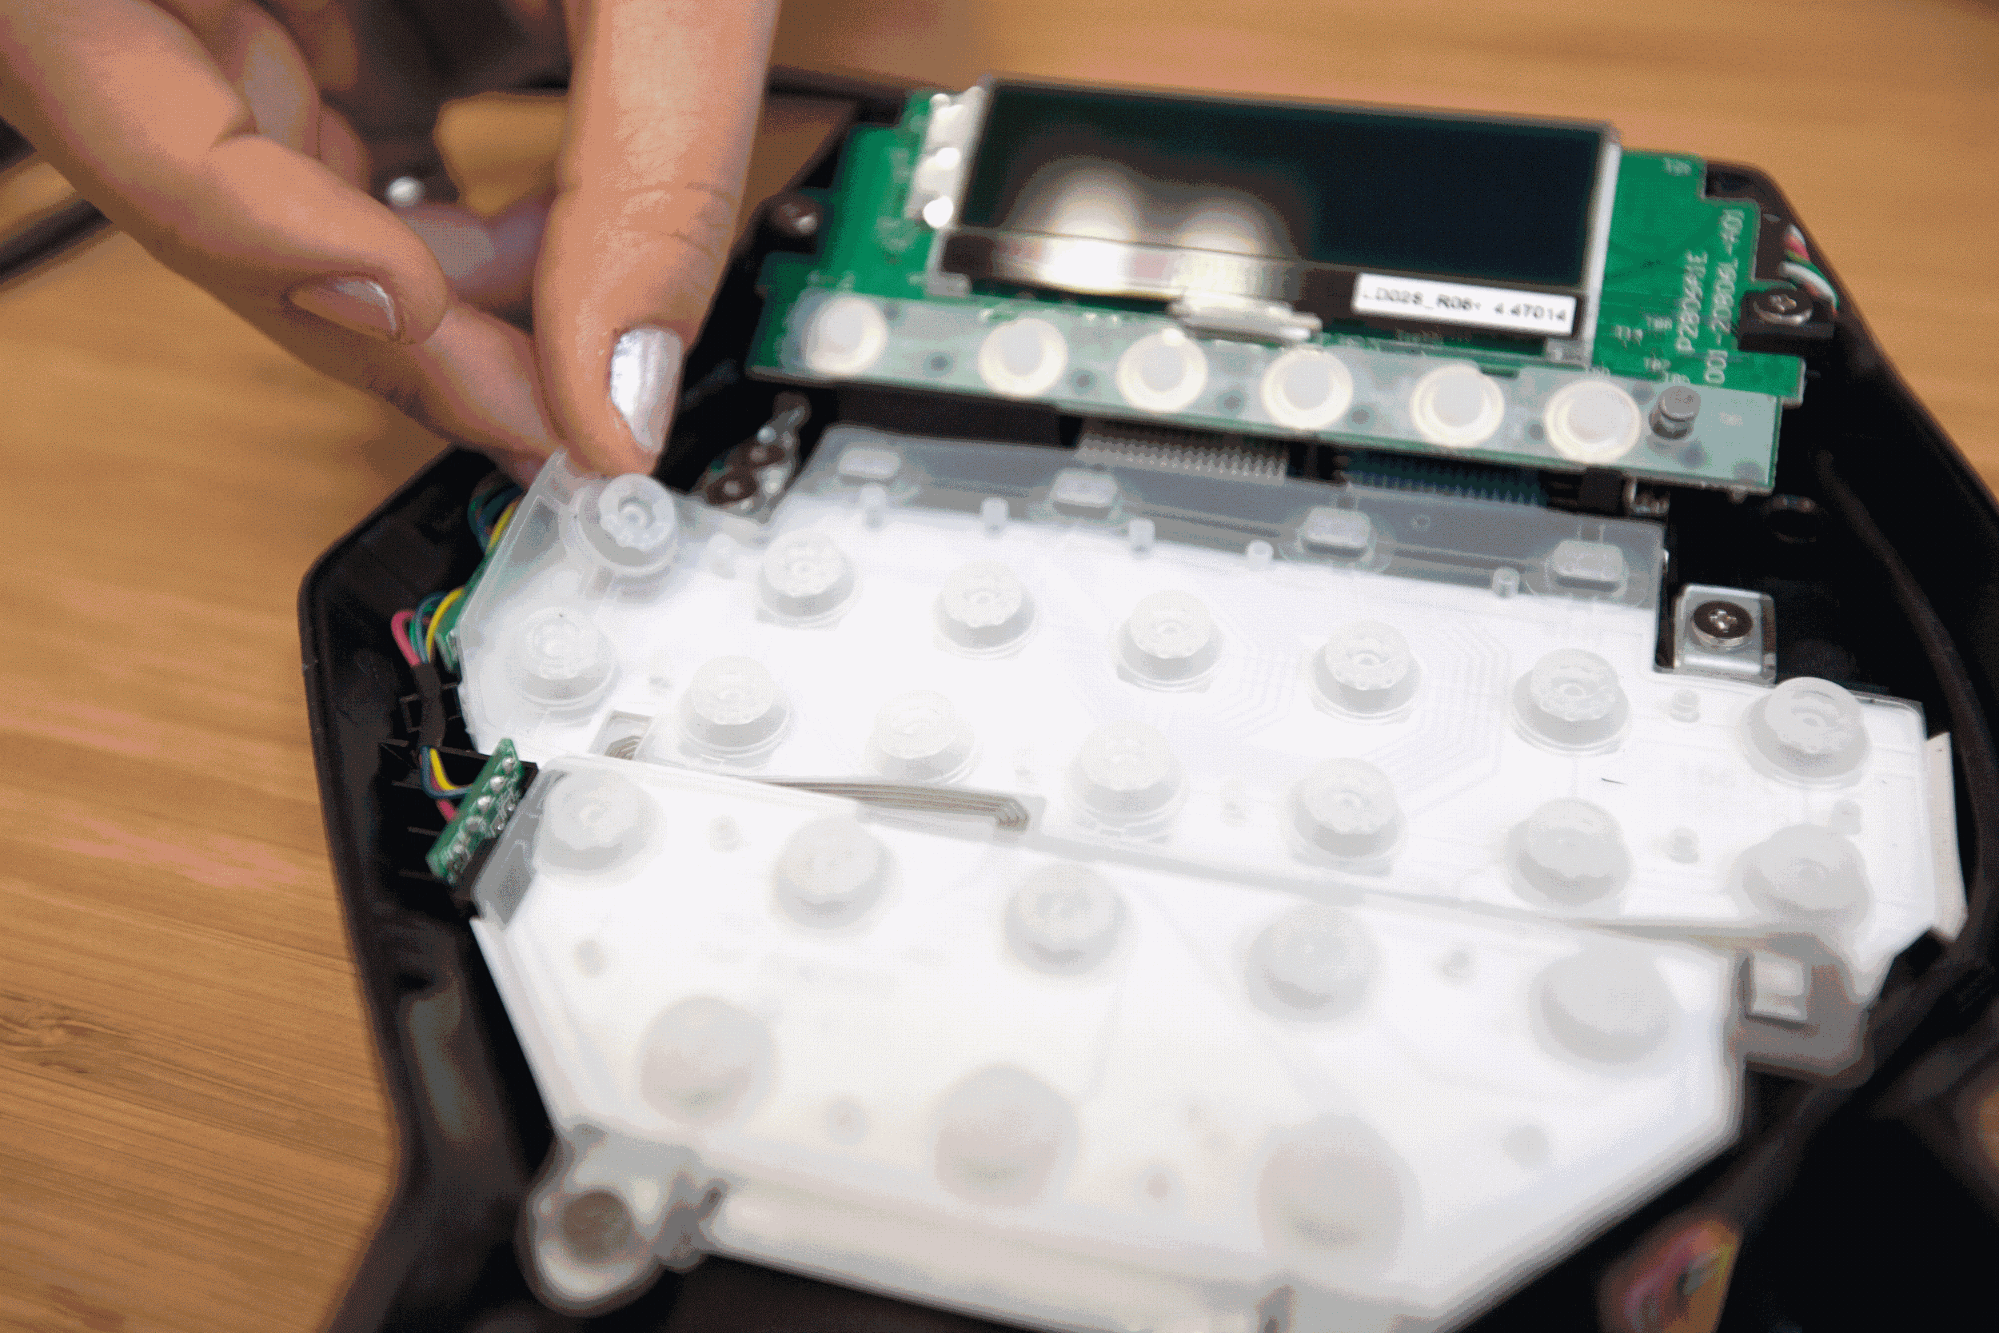
These key mats are super thin and delicate. They may look simple at first glance, but a lot of engineering goes into creating the right tactile feel. Tactile feel is influenced by the switch’s actuating force, keystroke travel, contact force, and return force. Low actuation force is more popular for gaming applications, because it allows for more rapid actuation and reduces finger fatigue.
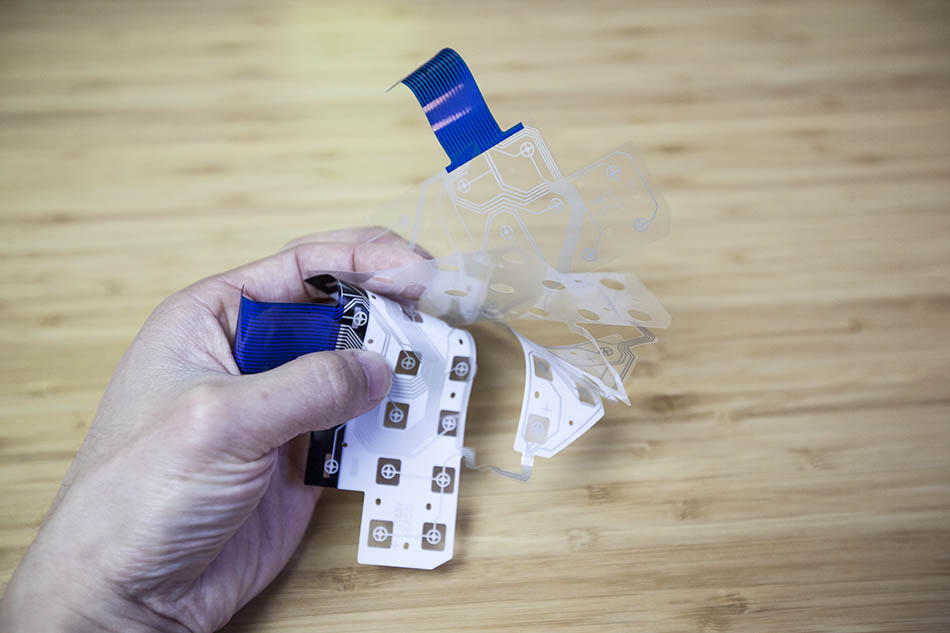
What looks like one FPC actually comes in three layers that are heat-staked together. The top and bottom FPCs have traces, while the middle layer is a spacer, with holes cut out where the keys are. When you push a key, the top and bottom layers get squeezed together, and a press is registered electronically.
The key tops are molded in transparent and translucent plastic, then painted black. The numbers on top get lasered off, so light can pass through. We worried that the paint would wear off over time, but Craig stands behind the paint’s durability.
The four smaller mode-switching keys (MR, M1, M2, and M3) have a more milky base plastic, compared to the transparent base plastic used for the G1 to G22 buttons. A more milky light guide diffuses the light more and eliminates hot spots better. You’ll see why this is needed later.
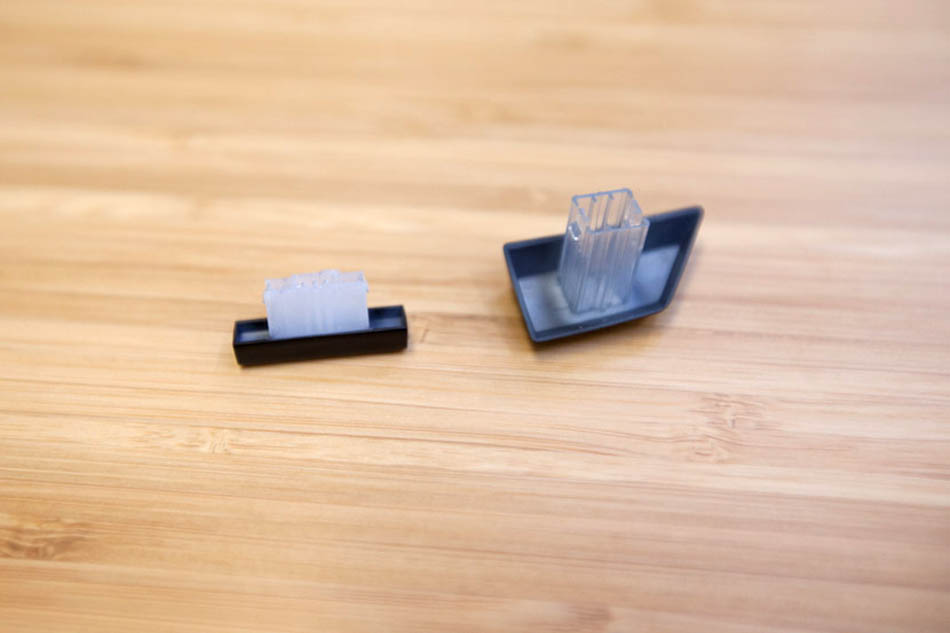
You can see tiny cantilever snaps on the lower portions of the keys. These help to retain the keys in the bezel frame during assembly. The stroke length on these keys is pretty long, which prevents accidental presses.
Display Control Buttons
The buttons under the LCD screen are not used as often as the G-keys: They control display settings and are backed by metal dome switches. There is also a key mat between the switches and the keys, to improve tactile feel.
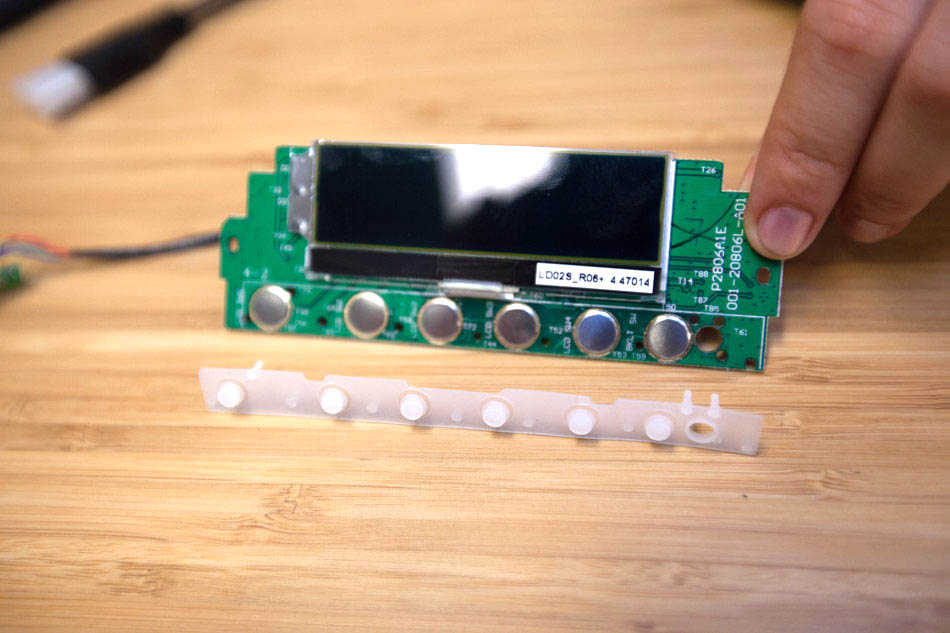
These key tops are quite different from the “G-keys”: All except one are solid plastic, so they have no backlight. They’re attached to the screen cover by heat-staking. The lone backlit button fell out when we took the cover off; we think it was also meant to be heat-staked down, but it seems that step was skipped during assembly.
Thumb Access Buttons
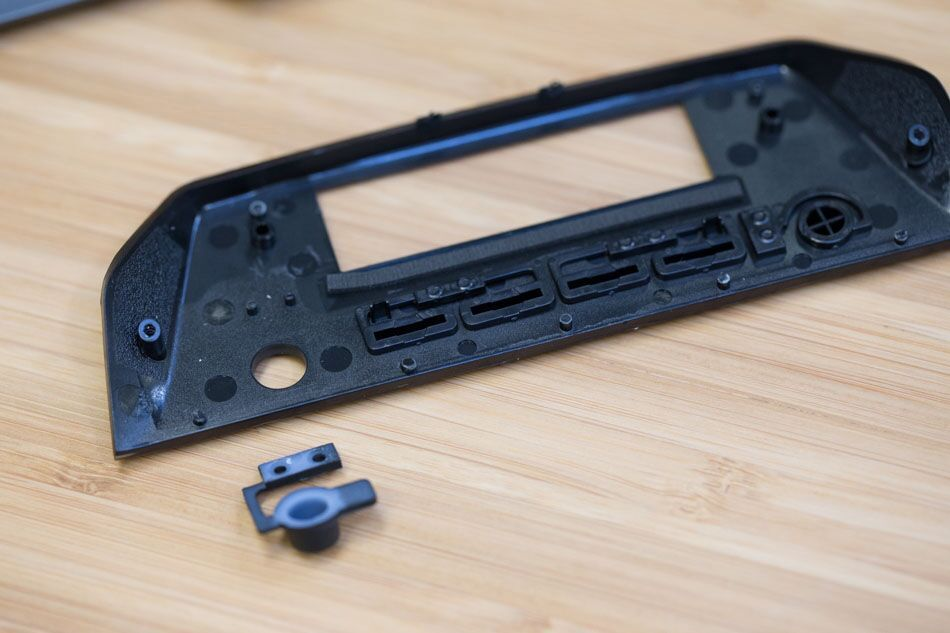
The third set of buttons are for thumb access and are attached to the frame with screws.
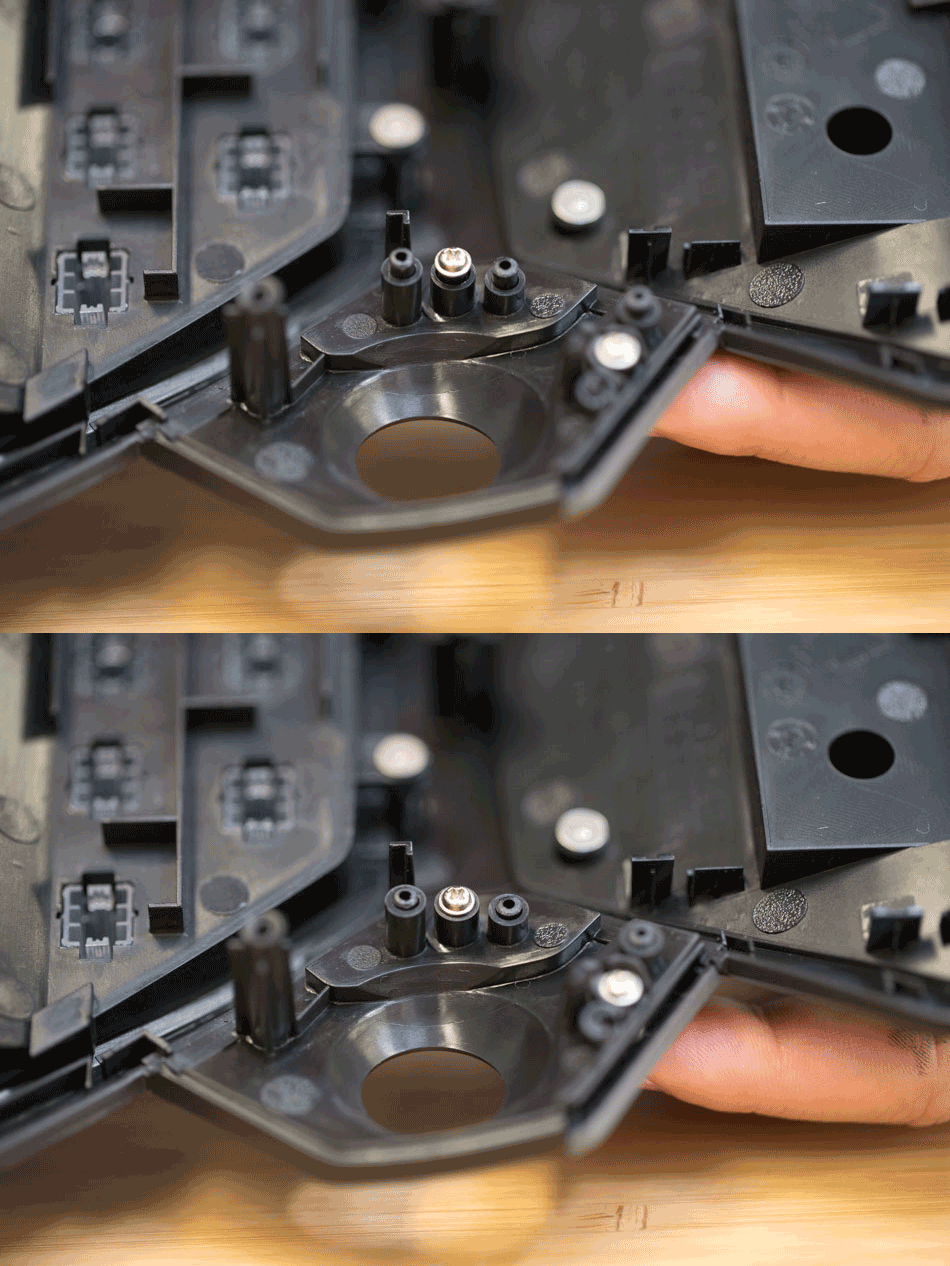
Springs are placed underneath the key tops to help them rebound. Craig says that these keys still get stuck, though, and feel sloppy compared to the other keys. These buttons are his least favorite part of the gameboard.
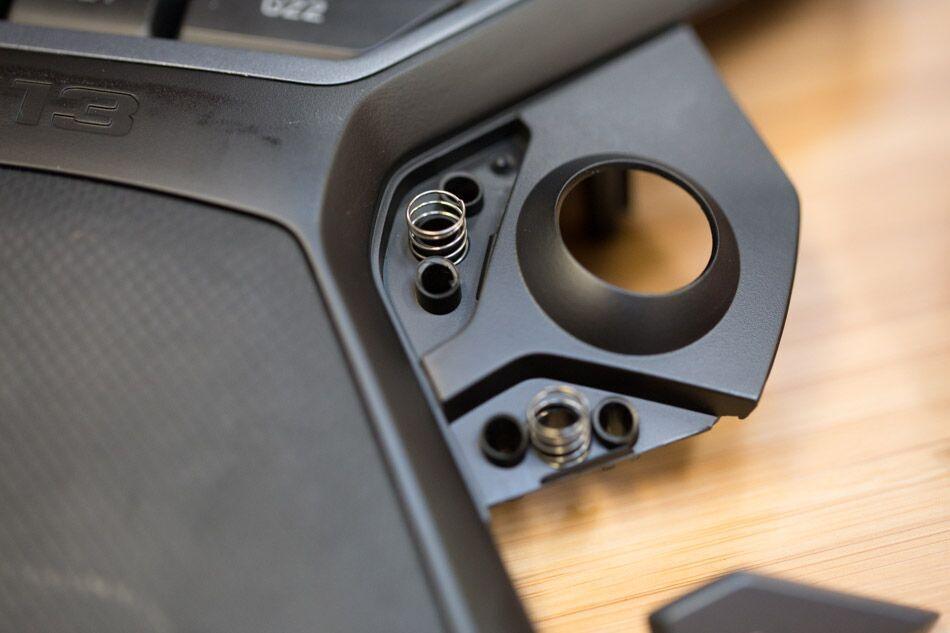
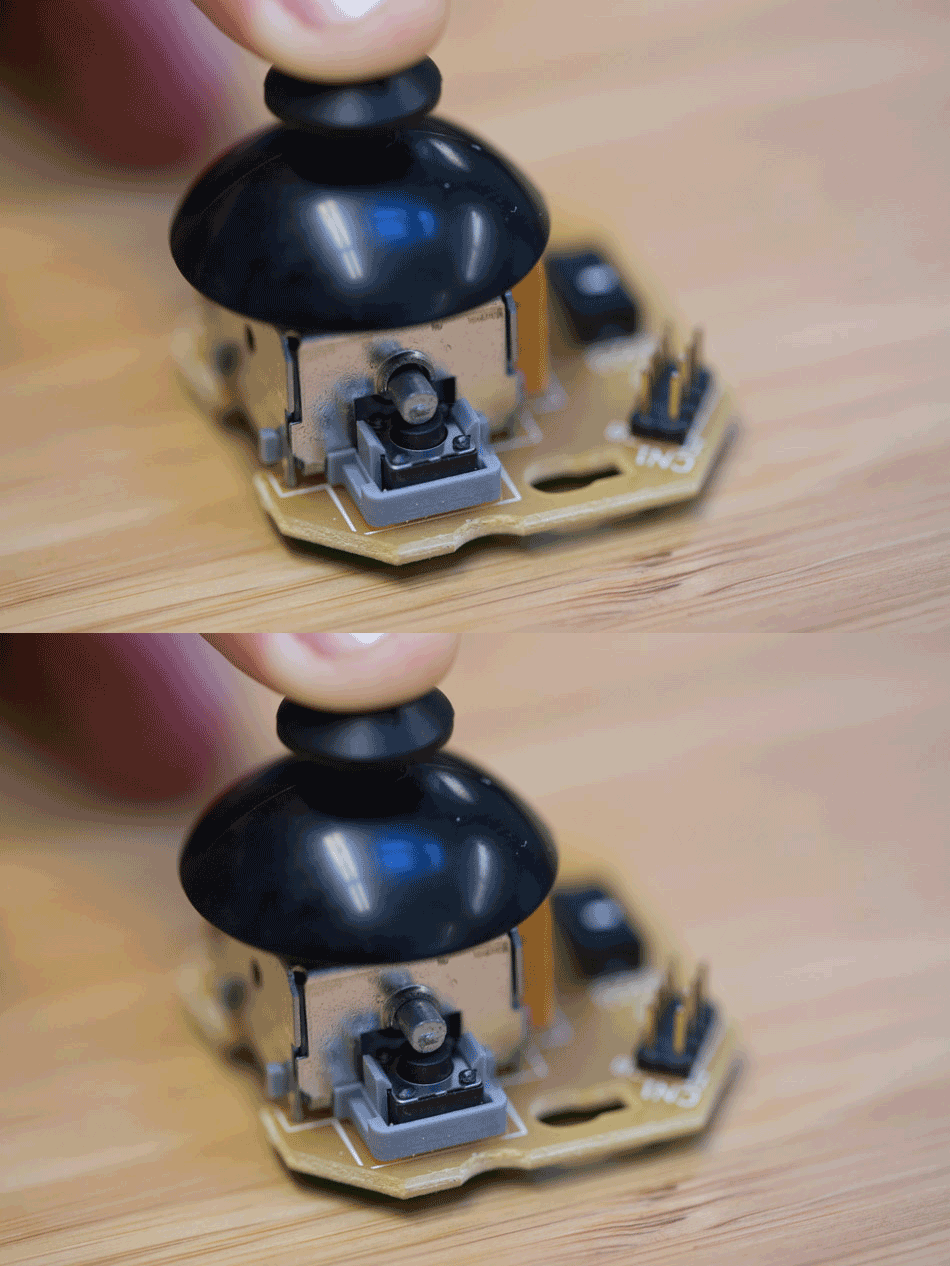
Under these buttons are snap action switches, seen here on the thumb PCBA, which brings us to the joystick!
We couldn’t quite get the joystick cover off easily; it’s probably press-fitted to the actual joystick control column. The joystick presses down, in addition to pivoting.
Lights & Light Pipes
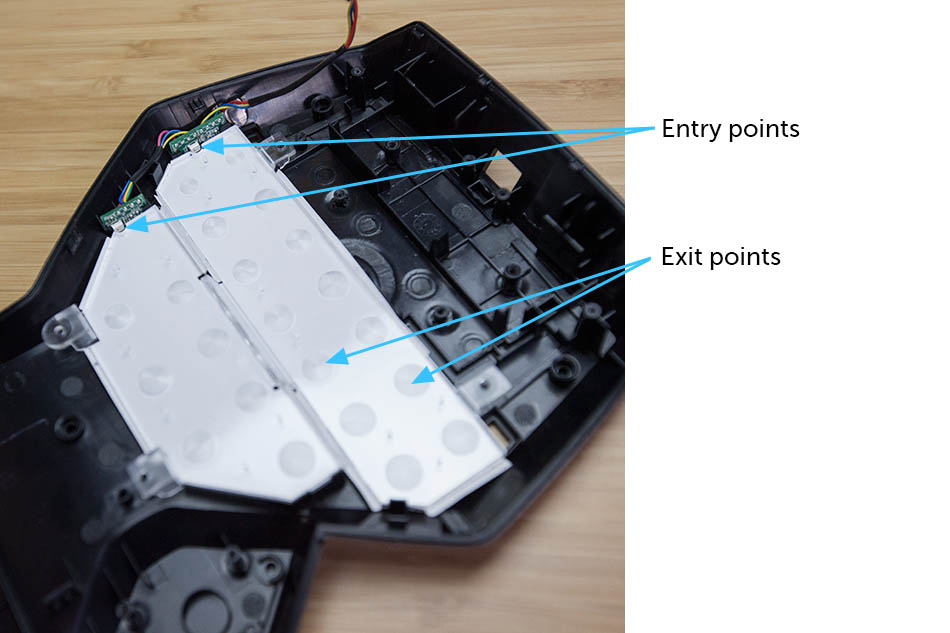
The entire G-key area is back-lit, and we found this huge light pipe underneath the G-keys FPC assembly. The polycarbonate light pipe is backed with a white shroud, to maximize internal reflection.
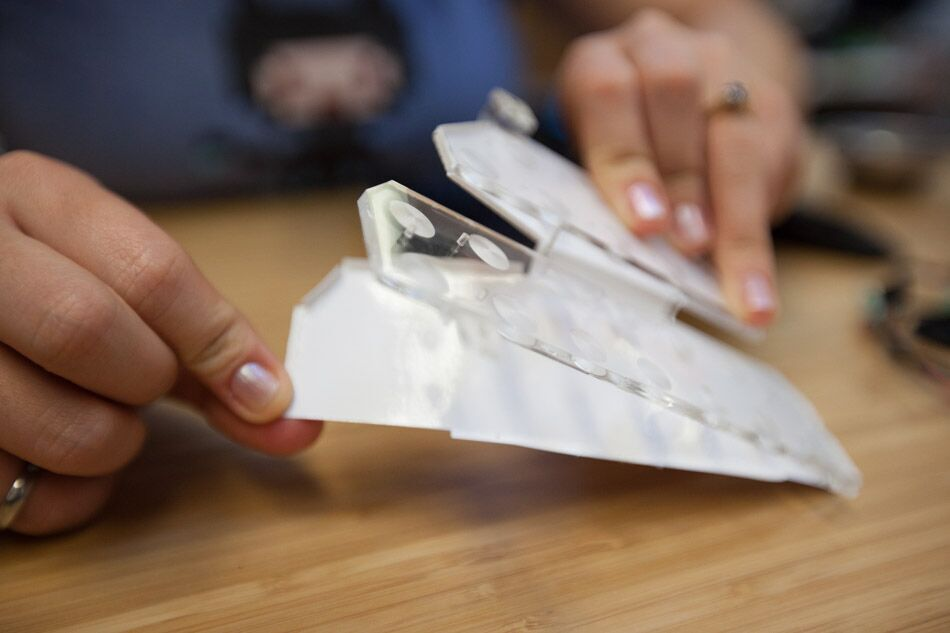
Only two LEDs illuminate this entire area. Notches on the side of the light pipe are entry points, matched to the LED’s firing angle. Textured concave circles are the light’s exit surfaces.
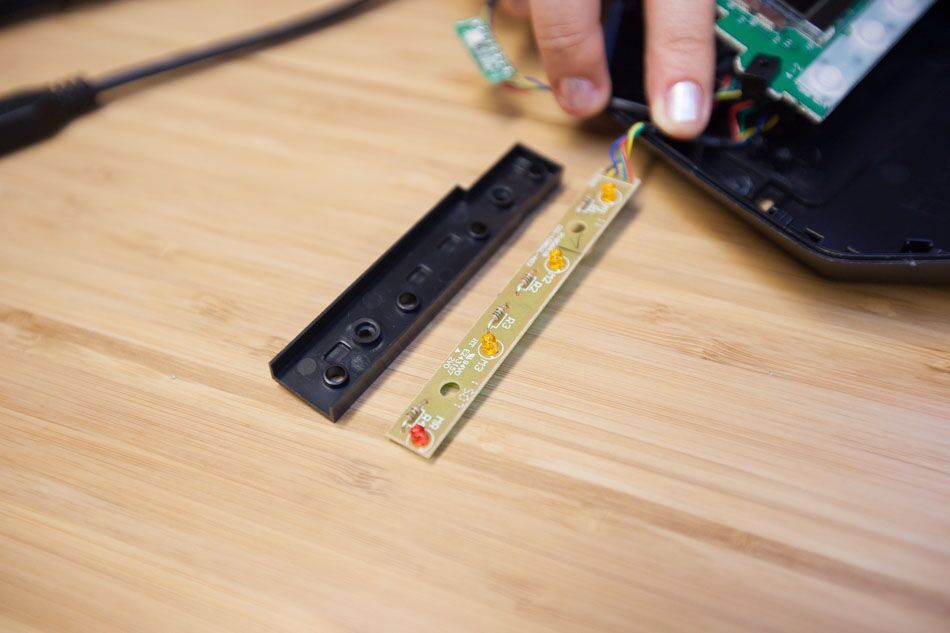
The mode-switching keys are orange and red single-color LEDs. They sit directly underneath the buttons, which is why these buttons had to be made of “milky” plastic. If they were made with transparent plastic instead, they would be noticeably brighter than the G1-G22 keys.
Cable Strain Relief
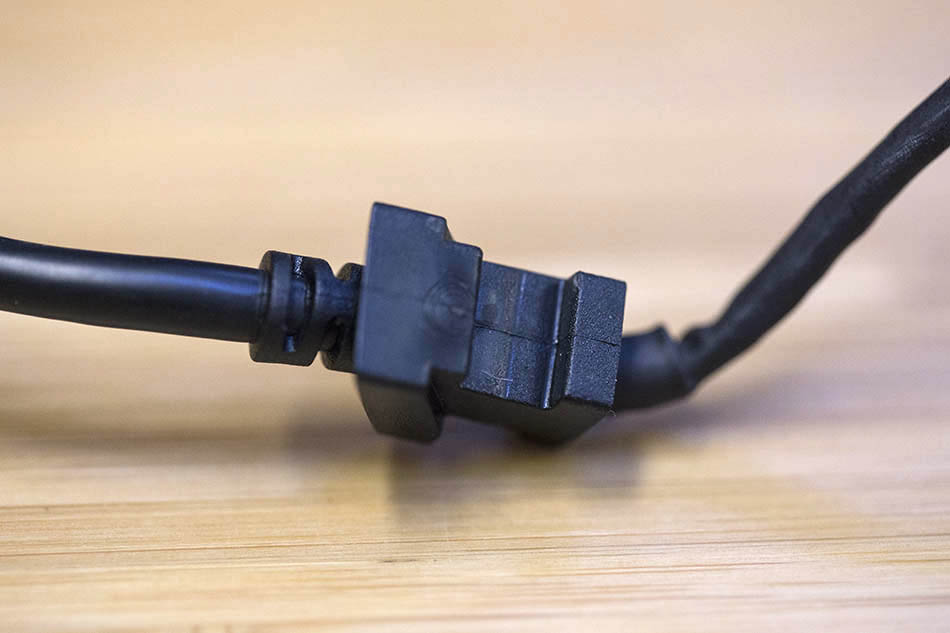
While the gameboard is not expected to move around as much as a mouse, a strain relief is always a good feature to have, for cable durability. This strain relief design is similar to the one we found on the G502 Proteus mouse.
Weights
The palm rest area is mostly empty inside. However, we found some weights that add extra heft to the gameboard, probably to make it feel higher quality and help it stay in place on the table. We were surprised by the weights’ odd shape—there are two unused holes, and the outline doesn’t match the shape of the surrounding thin walls.
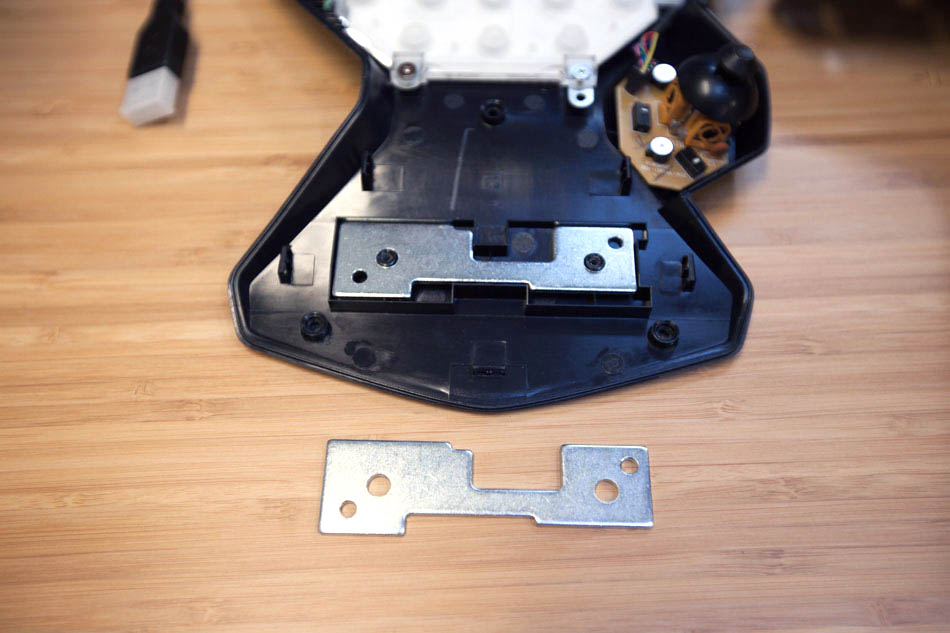
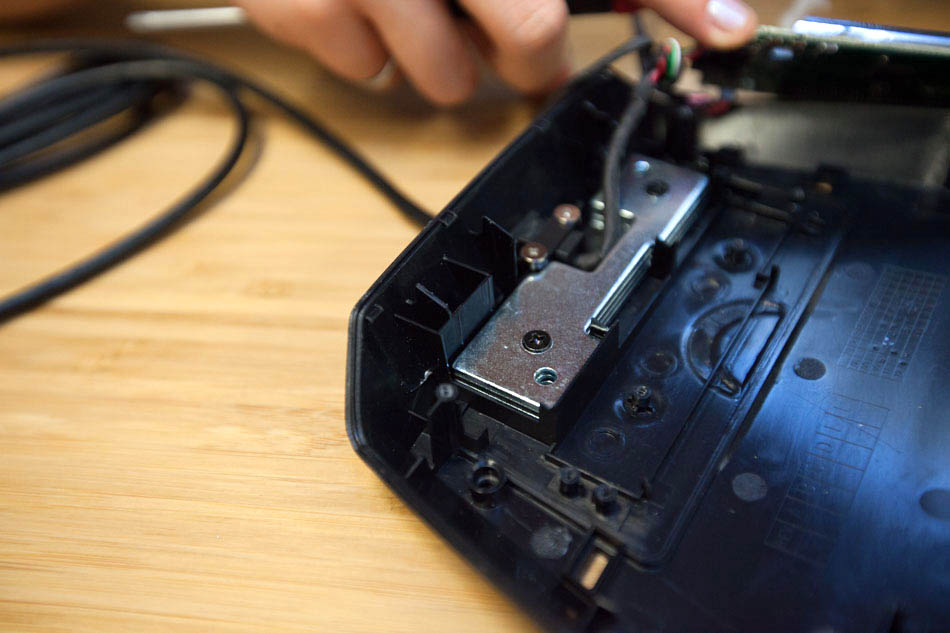
After we took off the LCD PCBA, it all made sense. There are more weights hidden under the LCD screen, and there are more space constraints here. The shape of the weights matched the free space here perfectly. Re-using parts is always a good idea, to save money on tooling and set-up costs.
The two holes that went unused in the palm rest are still not used here, suggesting that another Logitech product might re-use this same part yet again.
Packaging
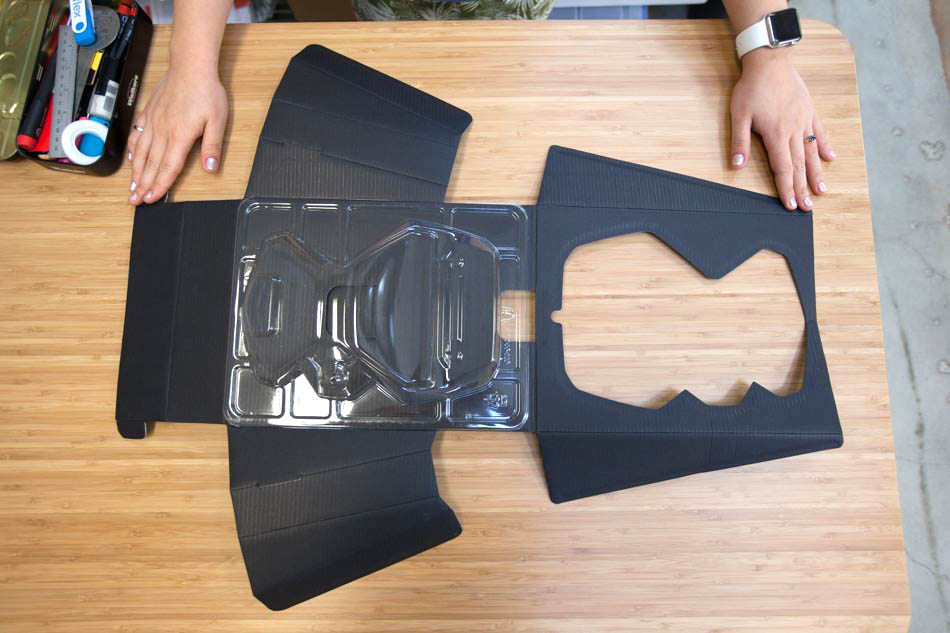
Lastly, we want to give an honorable mention to the packaging. We always love to see recyclable, simple packaging. The G13 gameboard’s inner packaging is pleasantly minimal: A PET tray and a single piece of die-cut cardboard provide ample protection for the gameboard.
