Time to read: 4 min
There are a ton of different tools available for prototyping hardware. But how do you know which tool is the right one at any given time?
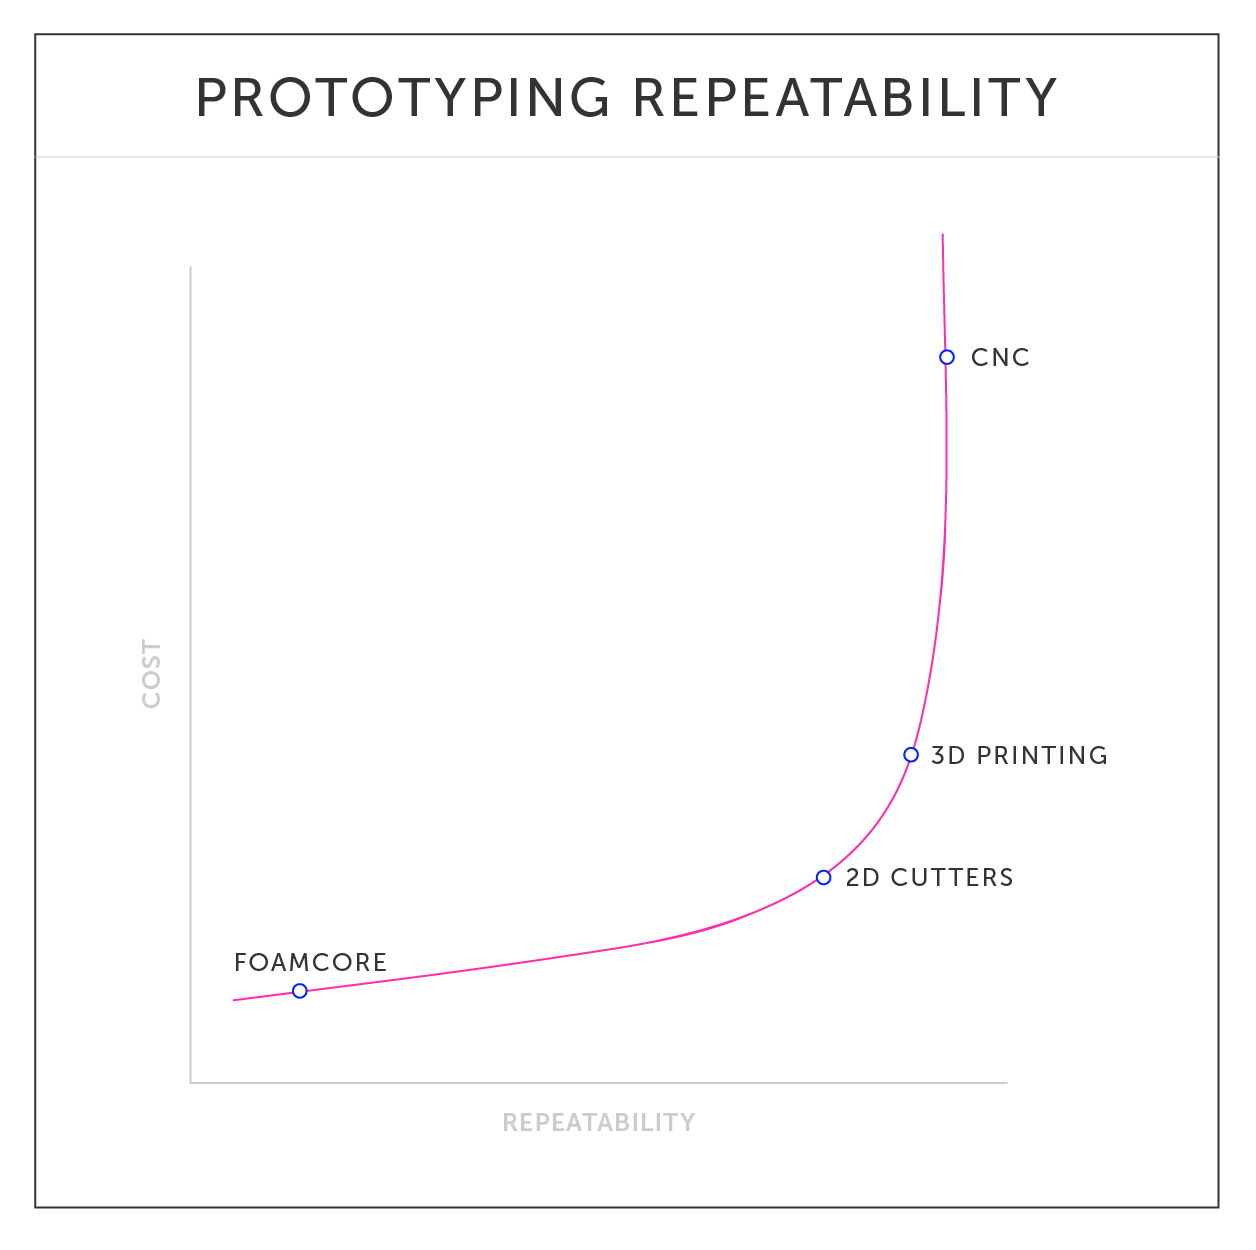
One of the main properties we look at to determine whether or not a tool is appropriate for a given design phase is repeatability. Repeatability refers to the ability of a production method to fabricate in a consistently precise way.

As you can see in the graph above, repeatability is associated with cost, so in the early design phases when you’re not concerned with consistent production, low cost tools are best. On the other hand, when you’re in the late design phases and consistent production is key, it’s time to invest in more expensive processes.
To help you choose the right tool for the job at each stage in the hardware development lifecycle, here’s what we call your “prototyping toolbox.” These are the tools you’ll reach for when you need to create a physical prototype of your design, organized by early, middle, and late design phases.
Early Design Phase
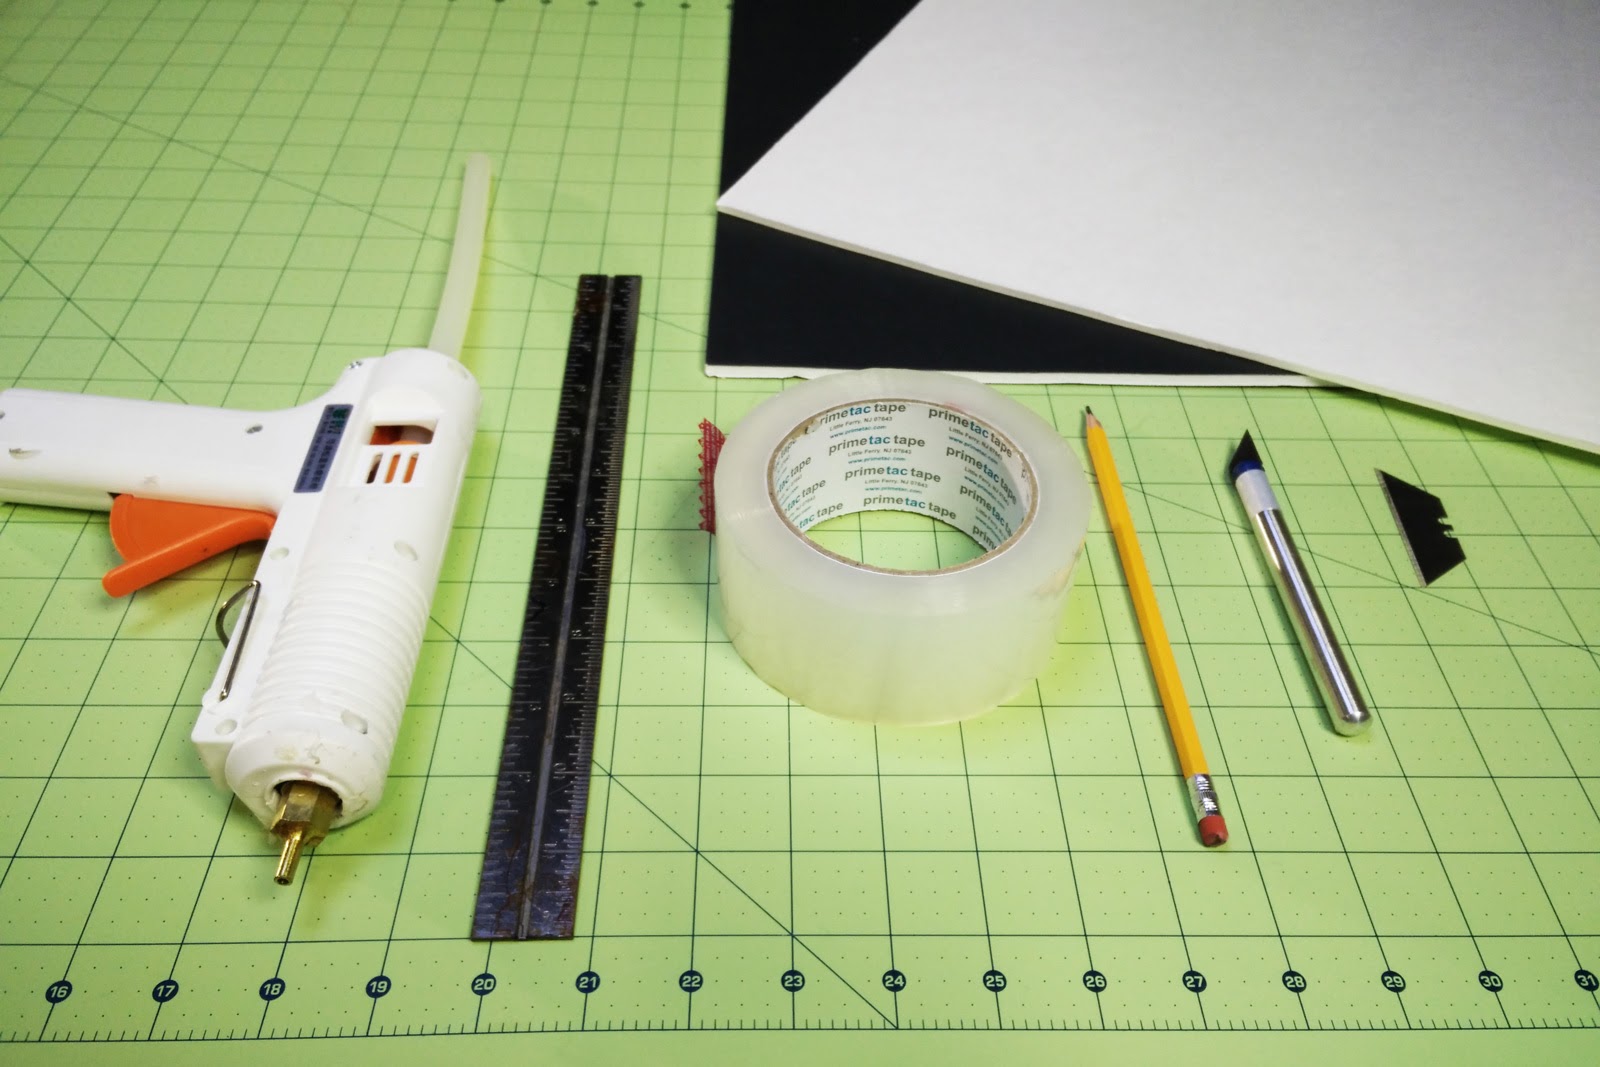
During this phase, repeatability is not a top concern. The goal is to simply make something that represents your design and its form. This can mean going down to your local dollar tree and buying up their plastic sword collection because you’re designing a life-size Iron Throne. I call this the dumb build. You’d be surprised how close you can get to your design by cutting pieces of foamcore and glueing them together.

For electronics, this is your breadboarding phase. Cheap parts can be bought from Sparkfun or Digikey and used with a traditional breadboard to work out circuit design. In the early design phase, there aren’t a whole lot of options for electronic prototyping. However, if you’re interested in a more modern way of designing circuits, check out Circuit Scribe by Electroninks, the “doodling” of circuit design.
Middle Design Phase
At some point, you’re going to want a more accurate representation of your product—one that can address both the form and function of your design. You want to know if the product performs and functions according to your expectations, accomplishing its purpose.
As you start testing product function, repeatability becomes increasingly important, because the product’s function depends on accurately made parts.
2D Cutters
2D cutters are very useful during this phase. Feed them a 2D image, such as a DXF or vector file, and they will accurately trace out your part using lasers, high velocity water, or a traditional endmill. These tools have the benefit of being highly repeatable and accurate. Laser cutters and water jets are the most common tools in this category.
3D Printing
The entrance of 3D printing in the consumer space has allowed many people to quickly and accurately prototype their designs. It has introduced a low-cost option that’s fast and easily repeatable.

If you’re considering the purchase of your own 3D printer, first read about the true cost of machine ownership and if you’re ready to start ordering 3D parts, head on over to fictiv.com to create an account.
Electronics Prototyping Platforms
As far as electronic prototyping, nothing gets much better than the Arduino, an open source electronic prototyping platform with nearly limitless capabilities. Arduinos have been used to create projects from coffee robots to LED displays to synthesizers.

Additional choices for electronic prototyping include Raspberry Pi, Particle for IoT, Intel Edison, Gumstix, and BeagleBoard.
Late Design Phase
As you progress in the prototyping lifecycle, you should use prototyping tools with increasing repeatability, getting closer to your actual production method.
These late design phase tools have longer turnaround (usually a few weeks), but by this point, design changes are hopefully at a minimum.
CNC
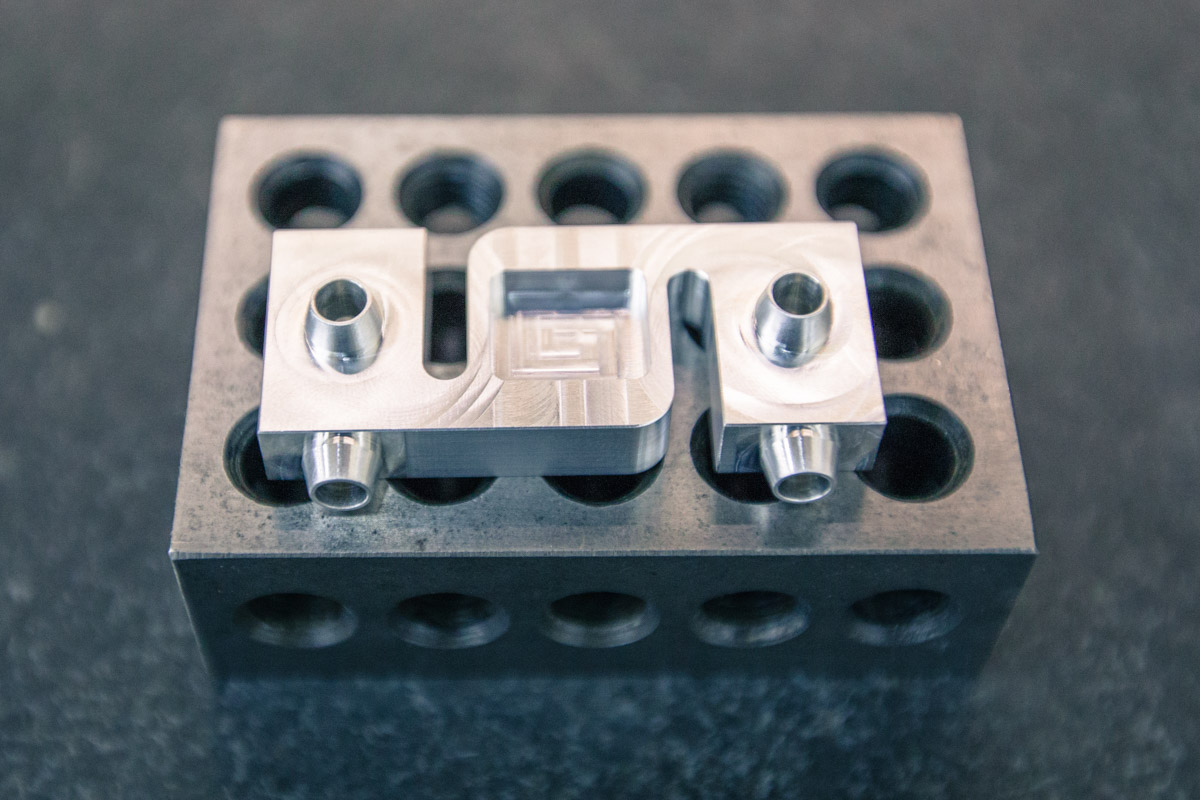
CNC, or Computer Numerical Control, machines have been used for decades to both prototype and manufacture products by hogging out a piece of material until the desired shape is achieved. They are generally used for metal parts but can also be used for wood, plastics, and composite materials.

CNC is probably the most expensive of all the prototyping tools mentioned in this article, but offers unparalleled repeatability and the capability of fabricating intricate metal pieces. Because it’s the only way to manufacture a lot of designs, using this method for a prototype may come earlier in the design phase as well.
RTV Molding
Room tempurature vulcanization (RTV) molding uses a silicone mold—a soft and flexible material that’s cheaper to work with than metal, but has a shorter life than injection molds. RTV molding is used for smaller runs of parts for that reason, but it offers a significant price advantage over CNC and injection molding and still provides a high quality finish with intricate details.
To learn more about RTV molding, check out this article from our Hardware Guide.
Now that you have an overview of the tools available for each phase of the design process, it’s time to put the pedal to the metal. Good luck!

