Time to read: 7 min
Aesthetic design is in the eye of the beholder, but functional prototypes have a different standard—testing—and for most of us, exam day has never been something to which we look forward. However, test day doesn’t have to fill you with the fear you felt going into high school Calculus exams: By setting clear design expectations ahead of time and doing a series of small evaluations as the design is developed, you can approach the final design tests with a smile. Here’s how to take the dread out of test day.
Begin with the End in Mind: Your Requirements Document
What does the design need to do? And how will you know if it’s achieved that goal? Your requirements document should be specific and include test standards for verification of each requirement.
For instance, let’s say you’re creating a case, and it needs to be waterproof. Saying a case is “waterproof” on its own is an almost meaningless requirement. Does that mean it can withstand the rain? What if you drop it in the pool? Can you take it deep sea diving?
Waterproof can mean any of these things, but you’ll need to note to what level you’ll be testing and what the goal is. This level of granularity in your requirements, before you ever begin working on the design, won’t just help with making test day easier; it will also help you steer your design decisions.
And if you’re not quite sure how severe to make your tests, consider deferring to an international standard: ASTM has hundreds of different test standards, covering everything from hardness to UV resistance to drop resistance. Just try googling “ASTM standard” and whatever area you’re thinking of; you’ll be sure to get more detail than you thought possible.
With uncommon requirements, you may need to get a little more creative. In the above example of a case, let’s also say that one of the requirements is that the buttons need to be designed for activation by someone wearing gloves. That’s a nebulous requirement, but you can do some experiments ahead of time on minimum size, minimum protrusion, and maximum depth of activation, which allows that to be easy, then incorporate those findings into the requirements document.
Isn’t this all a lot of work to do before you even begin your design? Well, yes. But it’s much less work than completely throwing away a design and restarting because your design doesn’t function well. Just like in high school Calculus, the key to making exam day easy is front-loading the work earlier in the semester. (Suddenly, I sound like my parents.)
Testing Design Elements
And speaking of front-loading work (because apparently, I’m old enough to lecture on that now), another way to make final tests more predictable is to test each element of your design separately. Waiting till you have a complete design and then running all the tests is an almost surefire recipe for failure. Instead, look at each function of the design, and ask how you can test just that function, or even just that function on one area.
Going back to the waterproof case design, if you wanted to create a new GoPro housing, you would want to separate out each unique button design and test that for waterproofness separately, and then create a case with no buttons to test how waterproof the main seal is. If you test it all at once and have a leak, you’ll have no idea which area to improve; by testing the elements out one at a time, you can perfect each element separately before testing the whole.
In the same way, tease apart the functions. You don’t need to do a drop test on the fully assembled hundred-thousand-dollar-with-functioning-electronics version of your company’s new product and shatter all the hard work of the electronics team (unless you have an enemy over there at whom you need to get back, in which case, shatter away, and maybe add in a sledge-hammer test, too); drop test just the mechanical housing to see how it holds up, first, before seeing how it dampens the electronics.

Less dramatic tests benefit from sectioning, too. On a recent housing, my client wanted a very specific feel for the snap-fit closures for the case, but there was no reason to print out the entire, large case for each test: We cut just the ends of the case, with the snap fits, and have been running tests on geometry for just those parts, saving hundreds and still getting the function just right.
You can do something similar for even the non-technical tests. A final prototype is amazing to get a true feel of the design, but once you’ve gotten team approval for the feel and aesthetics of the design with your CAD models and renderings, try a cheap 3D print to make sure you haven’t missed anything before you get too far into the design.
Sectioning your parts and function tests does bring up a small conundrum, though: Each of these tests would likely benefit from a different material. How do you choose what to material to use for your prototypes?
Choosing Materials for Your Tests
General knowledge of 3D printed materials can help with not only choosing your materials for each prototype test, but also in designing the tests themselves. While you can always jump right to the most expensive, realistic materials for your tests, careful selection can save your company significant amounts of money.
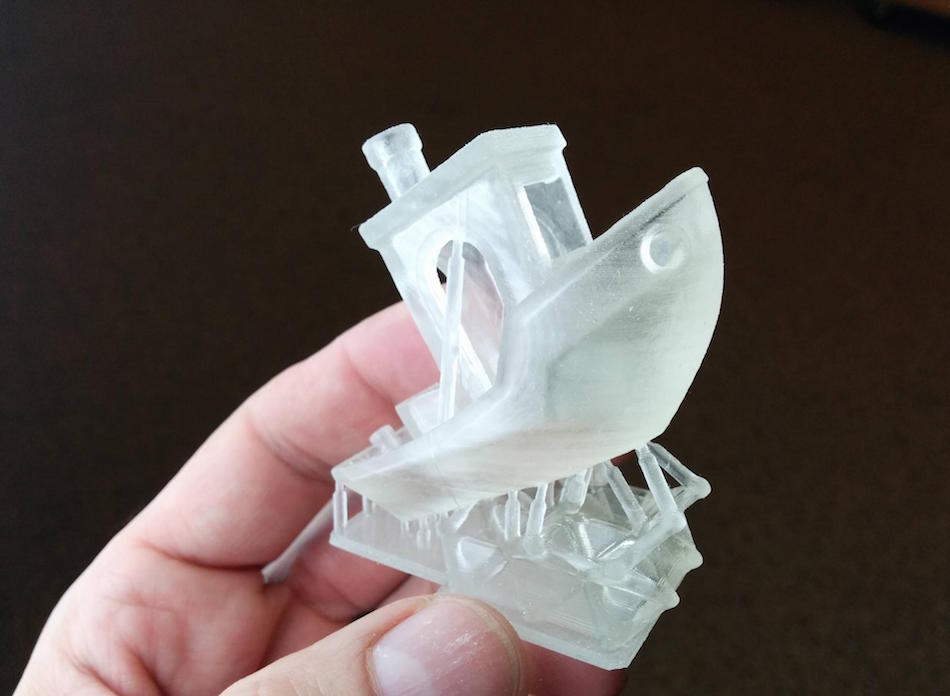
For a general form test, such as for size and shape, FDM makes very fast turnaround parts that cost almost nothing. You can print and iterate several times within a week and get the design dialed in.

When you’re dealing with sealing surfaces, you’ll need materials with a smooth surface finish, fine resolution, and enough stiffness to compress seals. For initial tests, you can use SLA or PolyJet, but once you’re ready for final tests on critical parts, I’d recommend budgeting the extra for CNC milled parts—you’ll get the most reliable seals and tolerances.
Snap-fits and similar springy geometry have an added challenge: The material must be very similar to the final manufactured product to get meaningful results. For geometry like this, you’ll need to carefully examine the material data sheets, paying especially close attention to the modulus of elasticity and strength numbers, and find a material similar to what you plan to use in manufacturing.
So now you’ve created clear test plans, separated parts of your design for different tests, and printed or machined those prototypes in the right materials. What’s next? It’s time to run some tests.
Running and Recording Tests
Running tests may look very much like a college lab, or even a full-blown government facility run, but it doesn’t always need to: Just as often, a garage-style test will give you the information you need. To decide how “NASA” you need to be, consider the goal and audience for your tests.
Is this test to satisfy safety and liability concerns for a Fortune 500 company? Go full NASA: follow the appropriate testing standard to the letter in a laboratory setting and document each part of the test with both video and handwritten notes, written in a hardbound lab notebook in passive voice, third person style.
But if this is the early development stage of a new product with no real safety concerns, in which the testing doesn’t require complex equipment (like in tensile tests or notched impact tests), consider putting together something more appropriate to the level. Most of my recent tests have been recorded with my iPhone or GoPro, and I’ve done waterproof testing in swimming pools and off oceanfront docks. The key requirements were met—the right depth and duration—but the cost was less than 1/20th of a similar lab test.
Talk with your team and end client about what’s really required for your tests, and also keep in mind that you may need to perform different levels of testing as the product develops, performing quick desktop tests on form and function early in the design process and more thorough and formal tests while finalizing your design for production. Throwing a small housing into the watercooler may be fine for your initial test (to my old coworkers who may be reading this, I would just like to reiterate that though it was my housing, it wasn’t me—really), but you may also need to bring in a NIST-certified lab to test your final design.
Understanding Test Results
If you’ve set up your tests and requirements well, then you have a clear pass/fail standard for each test. For instance, for IP testing, the standard states “no visible ingress”, so if you open up your case after the test and there’s no water inside, you’ve passed. Like Tolstoy’s families, every pass result passes in the same way, but each failure fails uniquely, and you’ll need to take some time post-test to try to understand what went wrong. Fortunately, your tests and failures should provide clues.
For waterproof testing, hopefully you’ve already sectioned each element, so if the design does leak, you’ll know exactly which part is failing. When that happens, go back over the design carefully, and make sure you have good, smooth surfaces in contact with gaskets, and ensure that the geometry is giving you sufficient compression. By examining the design and comparing it with best design practices, you’ll typically find the flaw.
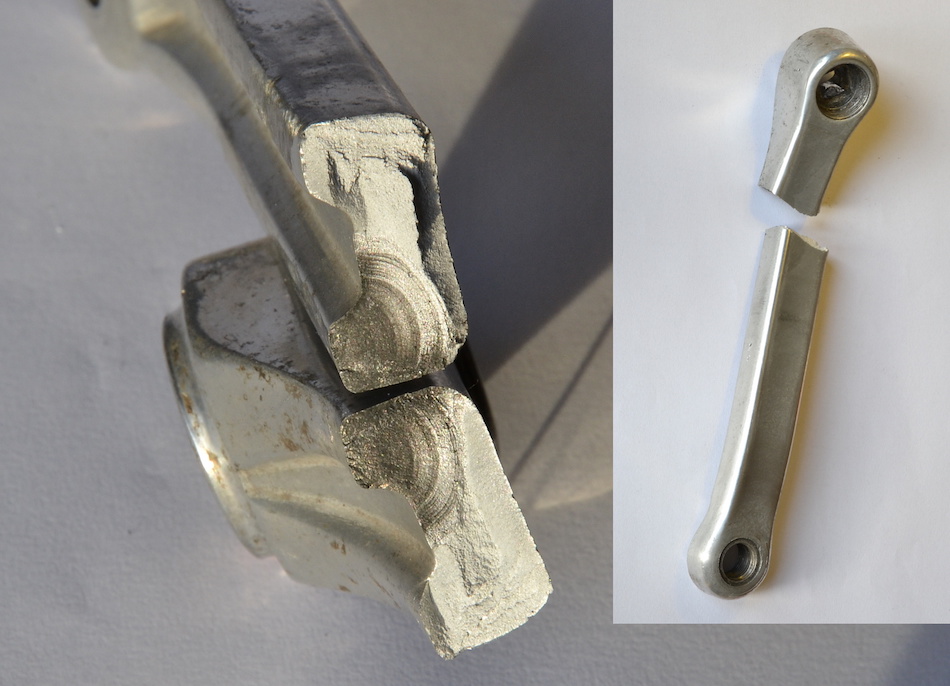
And it’s the same for other tests: if you know how to design it, then you should have a good idea of where to look for the failure. Don’t hesitate to dig deep, too, with full measurement inspections and even microscopic examinations of material failures.

Once you’ve pinpointed the issue, you’ll need to design around it and begin the test again. This can seem discouraging, but keep in mind that it’s completely normal: Great designs aren’t born, they evolve.
Testing Your Design
These days, with quick turnaround 3D prints, you can test every element of your design during the process, and have inexpensive, fully-functional prototypes to test at the end, too. Just keep each test tied to a specific design requirement and remember to separate out different areas for small tests, and the day of the big test will be a breeze.
Does your boss need a look at setting up a clear requirements document? Send over a copy of this article to get her started.
Or are you ready to get started with your first test? Take a look at our Capabilities Guide, then head over to our 3D printing and CNC machining services pages to get your first part by tomorrow!

